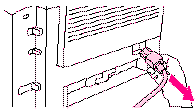
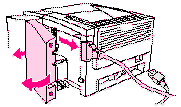
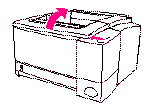
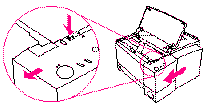
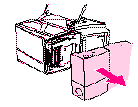
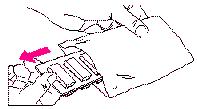
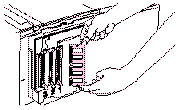
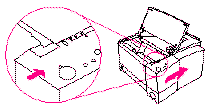
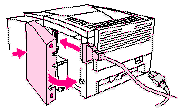
Installing a Flash DIMM in a Hewlett Packard LaserJet 2100/2200
If you have not already done so, print a configuration page by pressing the GO (big button) and JOB CANCEL (small button) buttons firmly at the same time to find out how much memory is installed in the HP LaserJet 2100 series printer before adding more memory. Note: If you are replaceing an eForm chip, look for
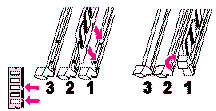
the slot with the 2MB ROM DIMM under the "installed personallities
and options" list on that configuration page. The slots
are numbered from back to front. Remove the old chip before
installing the new.
Checking memory installation
If the DIMM does not appear:
If you have a third tray (second pull out tray) it can be loaded with plain white paper and the pull down tray in the front can be closed. You will need to power off the printer and turn it back on before the new tray will be recognized by the printer and used. The Registration / Keypacket stock should be installed in the pull-out tray face down, with the top of the form to the front of the printer. Known Issues:Have to push the button to get each page to print:This printer has a history of suddenly deciding that the Multipurpose tray (the one that pulls down from the front of the printer) is to be used as a manual feed tray. After printing a job, the printer will set and flash its light until you press the Go button. It will then pull from the front tray no matter where you told it to print from. I've see it do this even when the config page (printed by pressing both the Go and Job Cancel buttons at the same time while the printer is ready) clearly shows that MANUAL FEED is OFF. The solution is to cold reset the printer to factory defaults. Paper doesn't pull from the bottom tray, printer indicates a jam but no paper in the printer or paper only partialy fed from the bottom tray:After excessive use, the pickup "foot" may become worn on the bottom exibiting a flat spot or reduced depth. Cleaning, movement or replacement of this part will be required for continued, normal operation.
Why do you need a printer memory upgrade? Benefits of upgrading your printer's memory Installing a Flash DIMM in the Hewlett Packard Laserjet 4000 Series Installing a Flash DIMM in the Hewlett Packard Laserjet 8000/9000 series Installing a Flash SIMM into the Hewlett Packard LaserJet 4P Printer HP LaserJet Legacy Printers - Memory Upgrade Specifications Click here for a complete list of Hewlett Packard printer memory configurations and OEM Part Numbers |

