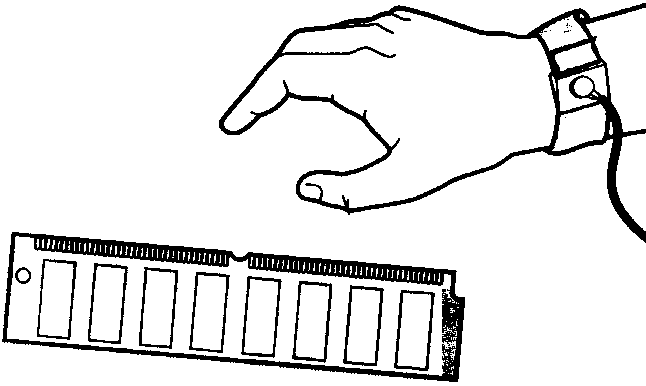
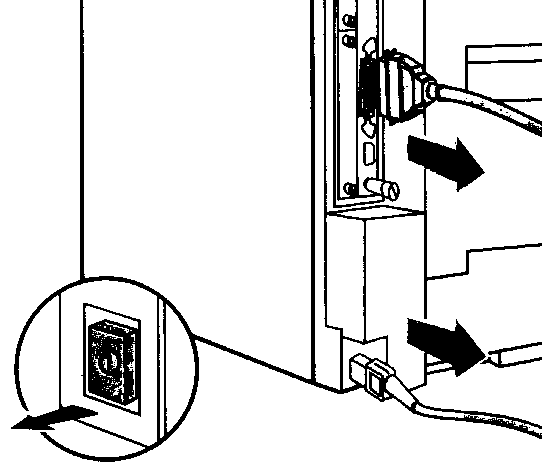
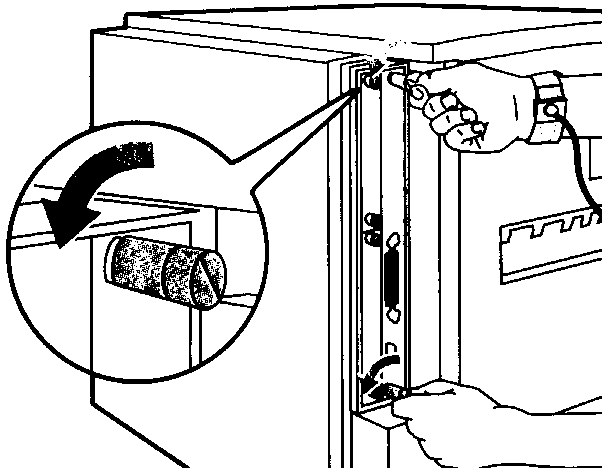
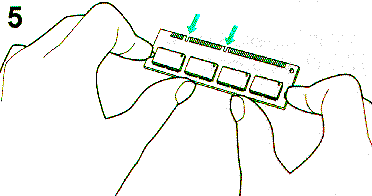
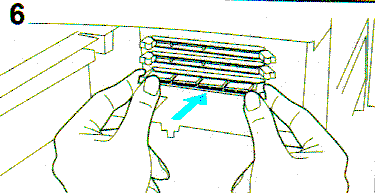
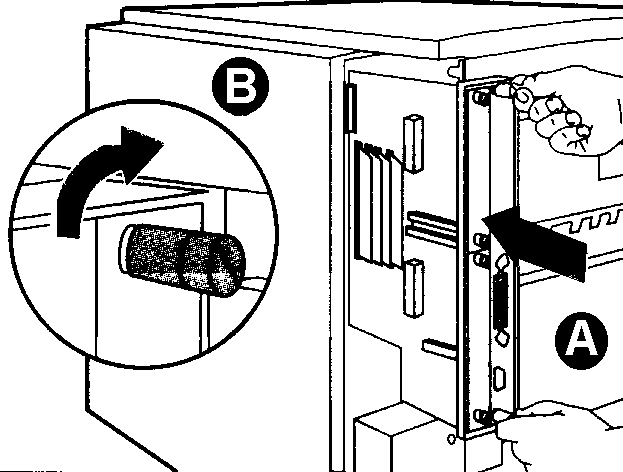
Installing a Flash DIMM in the Hewlett Packard Laserjet 8000/9000 series.CAUTIONDIMM boards and your printer formatter board can be damaged by small amounts of static electricity. When handling a DIMM or other board, wear an antistatic wrist strap connected to the metal frame of the printer (or to your antistatic system). During installation, to prevent generation of static electricity, avoid moving about the work area. To avoid damaging the parts, follow these steps:
Checking Memory InstallationFollow this procedure to verify that DlMMs are installed correctly:
Configuration PageUse the configuration page to view current printer settings, to help troubleshoot printer problems, or to verify installation of optional accessories, such as memory (DlMMs), paper trays, and printer languages. If an HP JetDirect print server card is installed (HP LaserJet 8000 N/8000 TN printers), a JetDirect configuration page will print out as well. To print a configuration page:
On the HP Laserjet 9000, you can enter "22" on the number key pad while the display shows ready to print the configuration page. File DirectoryUse the file directory page to view current contents of the Flash DIMM To print a configuration page:
Note which FSA device number the DIMM is listed under. If the DIMM is the only FSA device installed in the printer (no hard drive or second Flash DIMM), it should be device 0. OtherNote: Some models of this printer come with the IEEE-1284 C connector rather than the more standard B type for the parallel port. If you plan to use a parallel cable to connect the printer to a Workstation or Print Server, please be aware that you will need an IEEE-1284AC cable. These are hard to find and more costly.
Why do you need a printer memory upgrade? Benefits of upgrading your printer's memory Installing a Flash DIMM in the Hewlett Packard Laserjet 4000 Series Installing a Flash DIMM in the Hewlett Packard Laserjet 8000/9000 series Installing a Flash SIMM into the Hewlett Packard LaserJet 4P Printer HP LaserJet Legacy Printers - Memory Upgrade Specifications Click here for a complete list of Hewlett Packard printer memory configurations and OEM Part Numbers |

